Save space by storing your video call recordings properly
Properly storing your video call recordings is not just a matter of practicality; it's also a savvy move that enhances efficiency and organization. Efficient storage allows you to quickly locate and access past video call recordings, enabling seamless reference or sharing of valuable content. Moreover, it reflects a commitment to a clutter-free digital workspace, promoting a streamlined and professional image.
Step 1:
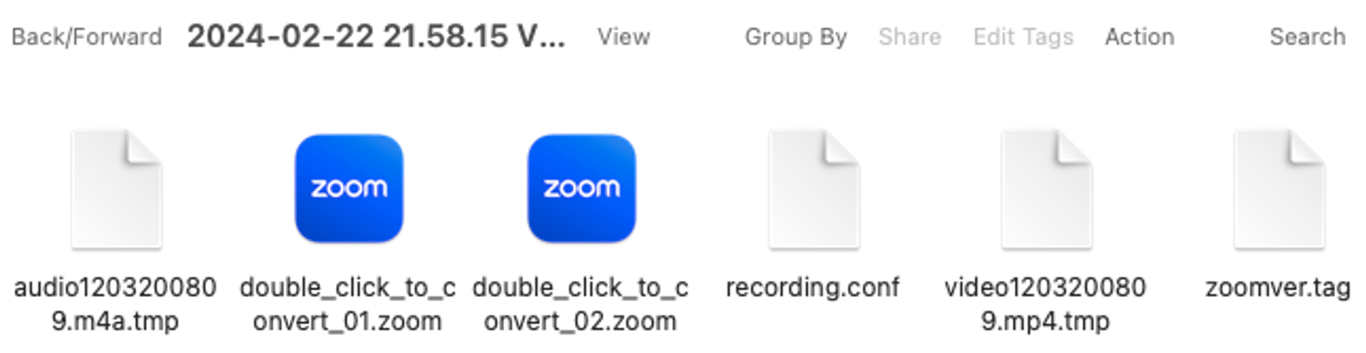
What should you do with Zoom recording files? After recording a Zoom call, you will receive two different types of files. One will be an M4A audio file, which you can directly import into your audio editor. You will also receive an MP4 video file, which can be edited and uploaded to YouTube or social media.
Step 2:
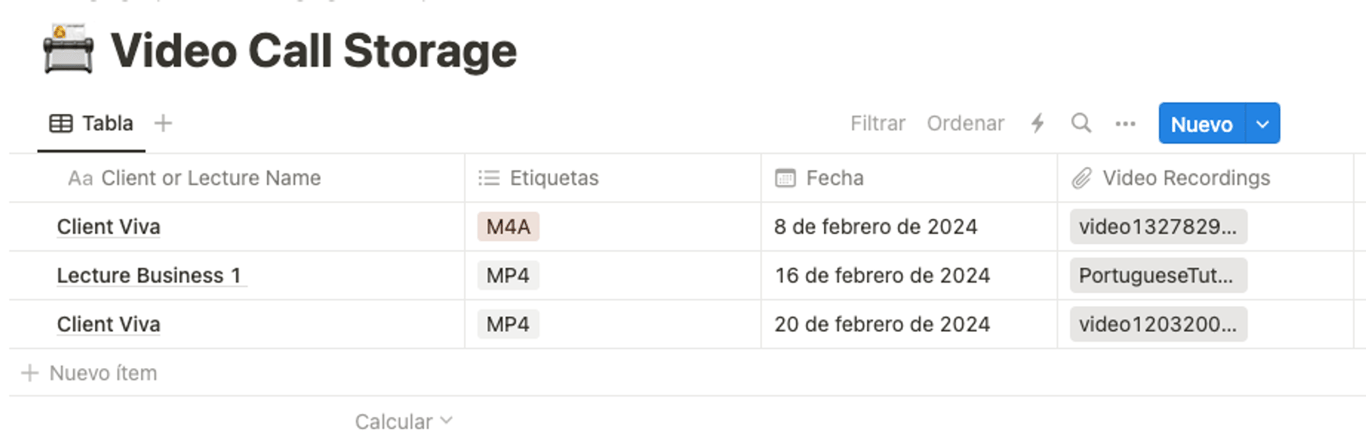
Create a Notion table for storage and organize all your files according to their necessity and importance.
On Notion, open a new page at your preferred location, create a table, and input as many columns as you need to fill with the recording information. This could include information such as:
Name of the client or lecture
Labels - to remember which file each recording is
Date the meeting or lecture was held
Video uploads column
Store your meeting recordings like a Pro
Notion is an excellent option when you don't have many meeting recordings to store, and the recordings aren't too long. If this is your case, it won't be long before your page becomes slower when browsing your table.
If your meeting recordings hold a lot of value, and you constantly need to go back to them to review key points and takeaways, it's time to start storing your meeting recordings like a pro. Use the Closer Meeting Tool, a robust platform that allows you to handle a large number of meeting recordings, take site notes, transcribe and translate, track them by tags, and collaborate with your team.
Step 1:
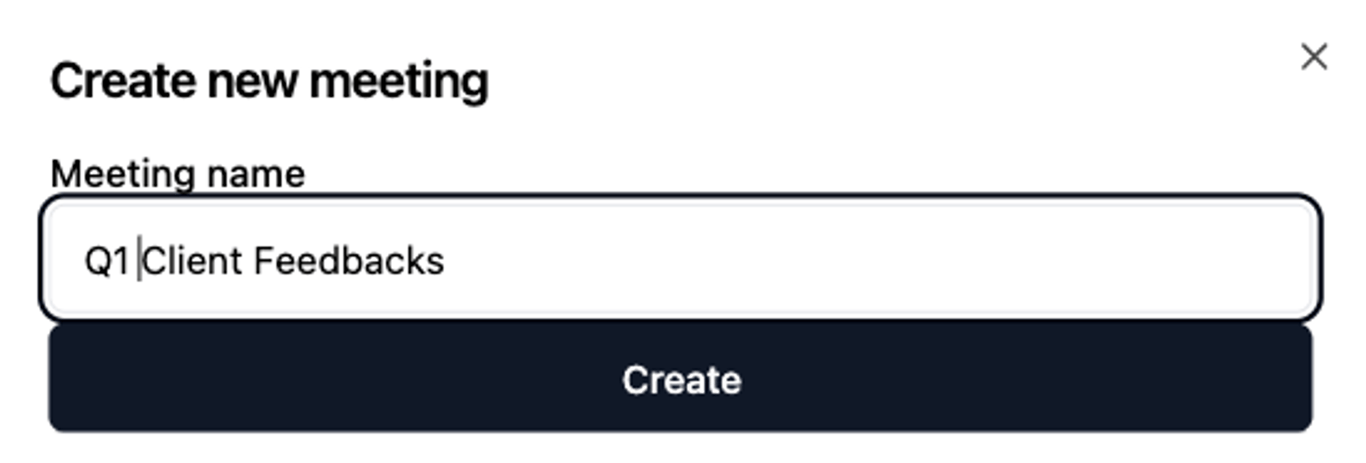
Open the Closer Meeting Tool, and click on “Create new Meeting”.
Select a name and press Create.
Step 2:
Once the new meeting has been created, you can start uploading your video call recordings, adding tags, viewing transcriptions and translations, adding side notes, linking transcript segments, and much more!
Feel free to access the recordings anytime, without overloading your PC storage, by saving all your video call recordings. Beyond the practical benefits, optimizing your digital storage demonstrates a mindful approach to data management, showcasing your tech-savvy and forward-thinking attitude.
Embracing innovative storage solutions ensures that video call recordings are readily available when needed, contributing to a smoother and more enjoyable digital experience. If you wish to learn about other benefits of Closer Meeting Tool, and how to take better team meeting notes, visit the How To Link Transcript Segments To Documents post.